X-Cart Install and configure Affirm
This guide walks your through installing and configuring Affirm in X-Cart
X-Cart Version RequirementsYour X-Cart store must be on version 5.4.1 or above to integrate with Affirm.
You can find the current version of your X-Cart Store by logging in following these steps: https://support.x-cart.com/en/articles/5019167-admin-area-home-page#h_f96185d794
For additional information on updating your X-Cart store, you can contact X-Cart support or visit the following URL: https://support.x-cart.com/en/articles/4479959-update-step-1-checking-for-updates
Download Affirm App
Please take a look at X-Cart's installation guide for detailed, step-by-step instructions.
Enable and Configure Affirm
-
Go to Store Setup > Payment Methods.
-
Locate Affirm in the list of payment methods and click Configure .
-
Enter your API keys:
- Sandbox API Public Key (optional) - If sandbox testing, enter the Public Key from your Affirm sandbox dashboard
- Sandbox API Private Key (optional) - If sandbox testing, enter the Private Key from your Affirm sandbox dashboard
- API Public Key - Enter the Public Key from your Affirm dashboard
- API Private Key - Enter the Private Key from your Affirm dashboard
Enable Affirm in CanadaTo enable Affirm in Canada, please ensure that CAD is configured in the X-Cart default currency settings. For guidance on configuring your store's currency in X-Cart, please refer to this link.
-
Configure Other settings.
Field | Description |
|---|---|
Transaction Type | Can be set to Authorize & Capture or Authorize Only.
(If you select_Authorize Only, once you manually capture the order in X-Cart, the charge will be captured automatically in Affirm. Click here to to learn more on how to manually capture transactions within X-Cart.)_ |
Checkout Mode | Can be set to Modal Form or Redirect to Affirm
If unsure, leave Modal Form selected |
Test/Live Mode | Can be set to Sandbox or Live
|
Minimum Order Amount | Optional field The minimum order amount (before taxes and discounts) that must be met before Affirm displays as an option at checkout. If blank, Affirm will be displayed for all orders over $50. |
- Configure Affirm promo messaging settings.
Field | Description |
|---|---|
Show on Cart | Enable Affirm's promotional messaging on your cart page under the cart total (recommended) |
Show on Checkout | Enable Affirm's promotional messaging on your checkout page under the Affirm payment option (recommended) |
Show on Product pages | Enable Affirm's promotional messaging on your product pages under the product price (recommended) |
Show in Product lists | Enable Affirm's promotional messaging on your product list (category) pages (recommended) |
Enable Enhanced Analytics | If you enable Enhanced Analytics, Affirm's tracking pixels are enabled to track specific customer actions in your store across all payment methods. This helps you build a comprehensive picture of your eCommerce site to better understand your customers and fully optimize their shopping experience. If you're unsure whether to enable or disable this feature, leave this feature disabled. |
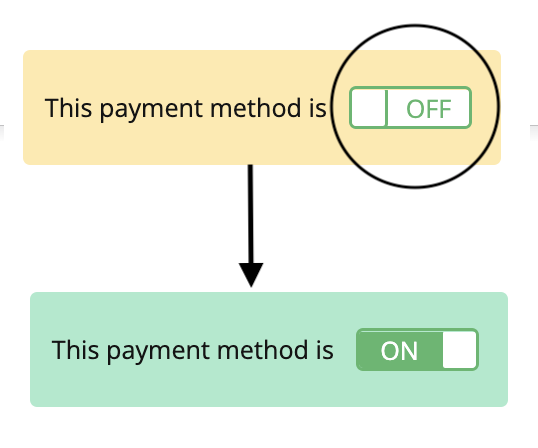
- Scroll to the top once you've configured your settings and click On underneath the Affirm Settings header. The button will turn green, Affirm will be enabled on checkout, and promotional messaging will be enabled on the pages selected.
Updated 4 months ago