Set Up Affirm Lite
Learn how to integrate Affirm Lite for a streamlined pop-up checkout experience that keeps customers on your site. Includes steps for adding Affirm.js, enabling autofill, using pre-styled buttons, and implementing a fallback.
Prerequisites
- Review your checkout page for iframes as this impacts your ability to use autofill.
- Confirm that your cart total and credit card fields have consistent and inspectable HTML selectors.
- Review Affirm Landing Page documentation if using fallback mode.
Steps
1. Embed Affirm JS (AFJS)
Add the Affirm.js script to the <head> on your site. The script loads directly from the Affirm domain.
Sandbox API KeysUse only your sandbox API keys and domain during testing and development. This ensures that you don't accidentally modify live transactions.
<script>
var _affirm_config = {
public_api_key: "YOUR_PUBLIC_API_KEY", /* replace with public api key */
script: "https://cdn1-sandbox.affirm.com/js/v2/affirm.js",
locale: "en_US",
country_code: "USA",
};
(function(m,g,n,d,a,e,h,c){var b=m[n]||{},k=document.createElement(e),p=document.getElementsByTagName(e)[0],l=function(a,b,c){return function(){a[b]._.push([c,arguments])}};b[d]=l(b,d,"set");var f=b[d];b[a]={};b[a]._=[];f._=[];b._=[];b[a][h]=l(b,a,h);b[c]=function(){b._.push([h,arguments])};a=0;for(c="set add save post open empty reset on off trigger ready setProduct".split(" ");a<c.length;a++)f[c[a]]=l(b,d,c[a]);a=0;for(c=["get","token","url","items"];a<c.length;a++)f[c[a]]=function(){};k.async=
!0;k.src=g[e];p.parentNode.insertBefore(k,p);delete g[e];f(g);m[n]=b})(window,_affirm_config,"affirm","checkout","ui","script","ready","jsReady");
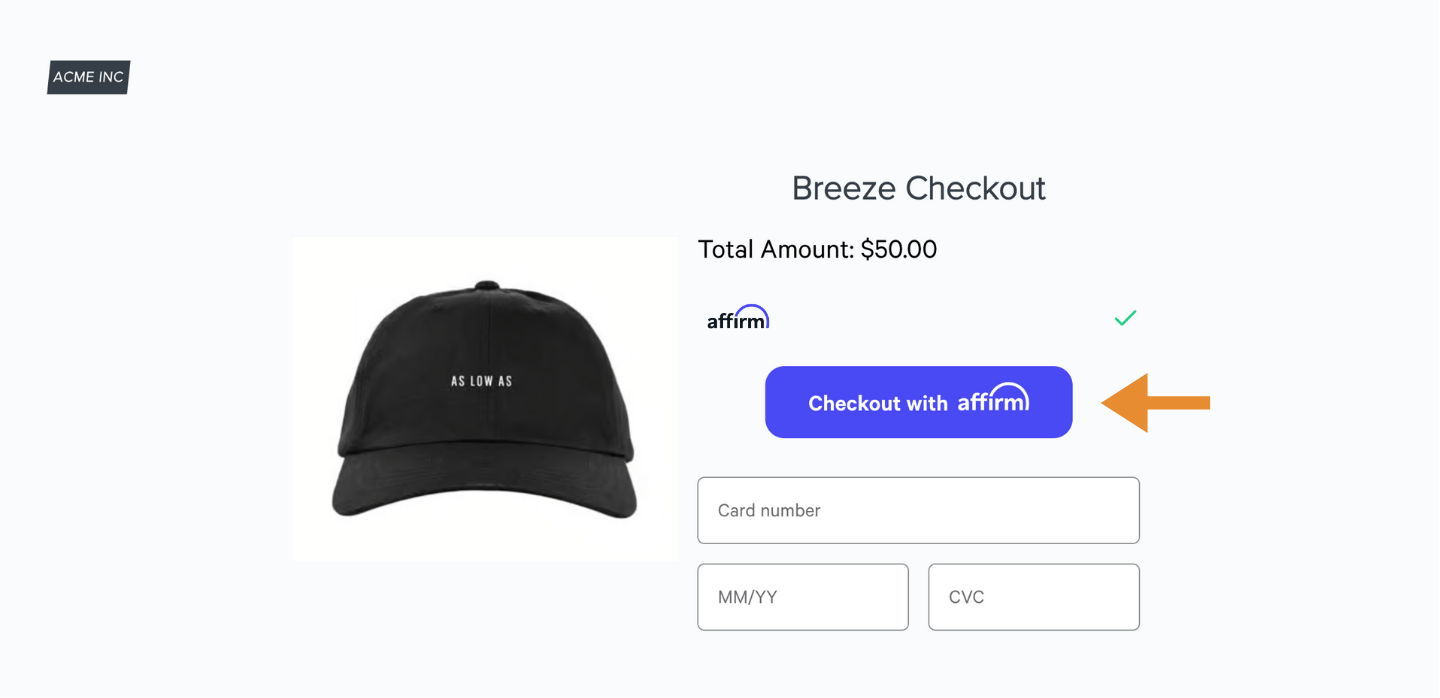
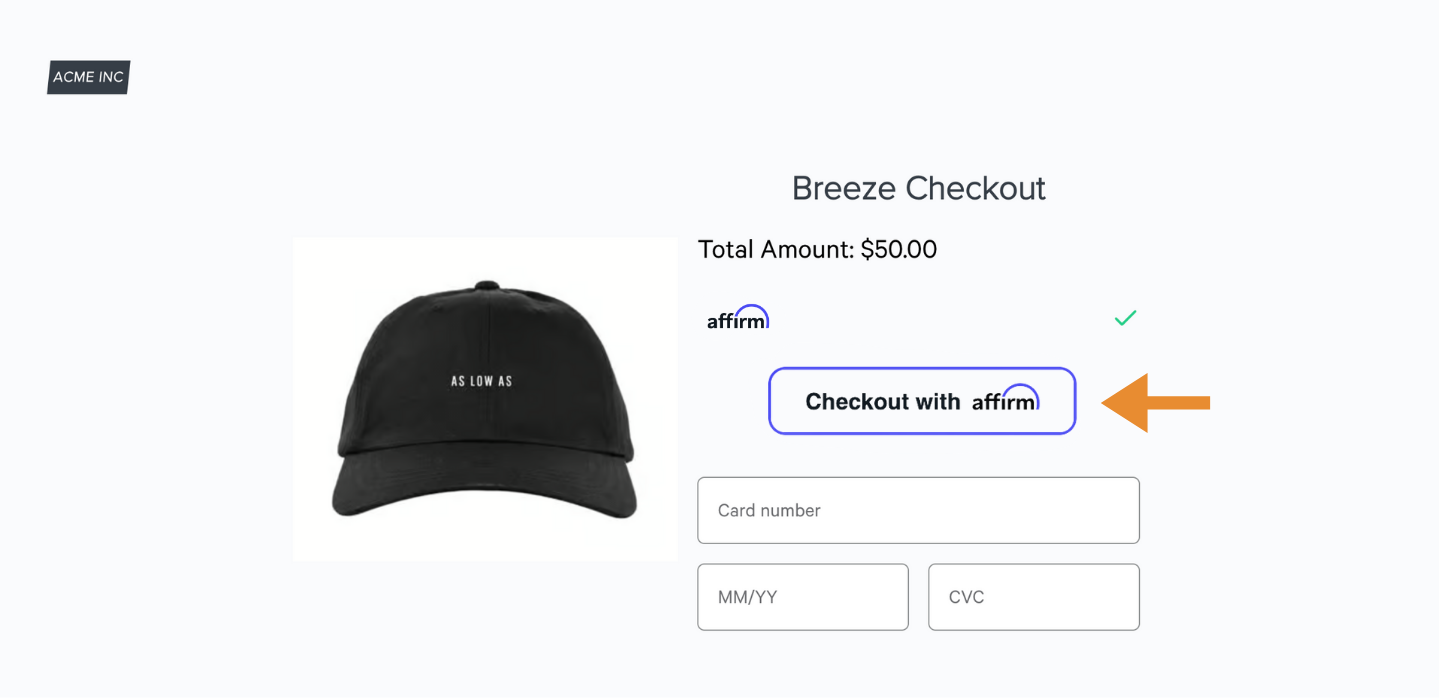
</script>2. Add the Checkout Button
You can add the pre-styled Affirm Checkout Button, or add the following button HTML where you'd like the Affirm checkout button to appear:
<button
  type="button"
  class="affirm-lite-checkout"
  data-fallback-url="https://affirm.com/shop/<merchant>"
  data-total-amount-tag="#total-amount"
  data-cc-number-tag="#cc-number"
  data-cc-csc-tag="#cc-csc"
  data-cc-exp-month-tag="#exp-month"
  data-cc-exp-year-tag="#exp-year"
  data-enable-ala="true"
>
    Checkout with Affirm
</button>
Affirm Landing Page Fallback
To ensure a customer can complete their checkout even if Affirm Lite cannot identify a selector, you can use safeguards such as the Affirm Landing Page (previously Affirm Lite) fallback. You can activate this fallback by including the data-fallback-url attribute in your Affirm Lite code.
When you activate the fallback, the customer is redirected to the Affirm Landing Page to continue the checkout process. When the customer completes their purchase, we generate an Affirm Virtual Card. The customer then manually enters their Affirm Virtual Card details on your store's checkout page.
Affirm Lite Button RequirementsTo activate Affirm Lite successfully, ensure that these are included in the Affirm Lite button’s HTML:
- The class
affirm-lite-checkout.- The
data-total-amount-tagattribute to accurately capture and communicate your customer's checkout cart total to Affirm.- The
data-fallback-urlattribute to redirect customers to Affirm Landing Page if Affirm Lite does not activate.
Affirm Lite Attributes
| Attribute | Description |
|---|---|
| class= "affirm-lite-checkout" | Serves as a locator for Affirm.js to find elements on the page to be transformed into Affirm Lite checkout buttons. |
data-fallback-url | Ensures that Affirm Landing Page can be activated as a fallback measure if Affirm Lite is unable to render. |
data-total-amount-tag | Captures the cart total and sends that information to Affirm. |
data-cc-number-tag | Identifies and automatically populates the Virtual Card’s number into the respective field on your website. |
data-cc-csc-tag | Identifies and automatically populates the Virtual Card's 3-4 digit security code into the respective field on your website. |
data-cc-exp-month-tag | Identifies and automatically populates the month of the Affirm Virtual Card’s expiration date into the respective field on your website. If your site only contains a single field for credit card expiration month and year, provide the same query selector for both attributes, i.e. data-cc-exp-month-tag= “cc-exp” and data-cc-exp-year-tag= “cc-exp”. |
data-cc-exp-year-tag | Identifies and automatically populates the year of the Affirm Virtual Card’s expiration date into the respective field on your website. If your site only contains a single field for credit card expiration month and year, provide the same query selector for both attributes, i.e. data-cc-exp-month-tag= “cc-exp” and data-cc-exp-year-tag= “cc-exp”. |
data-enable-ala | Enables an Affirm "As Low As" message below the checkout button. |
3. Identify your HTML Selectors for Autofill
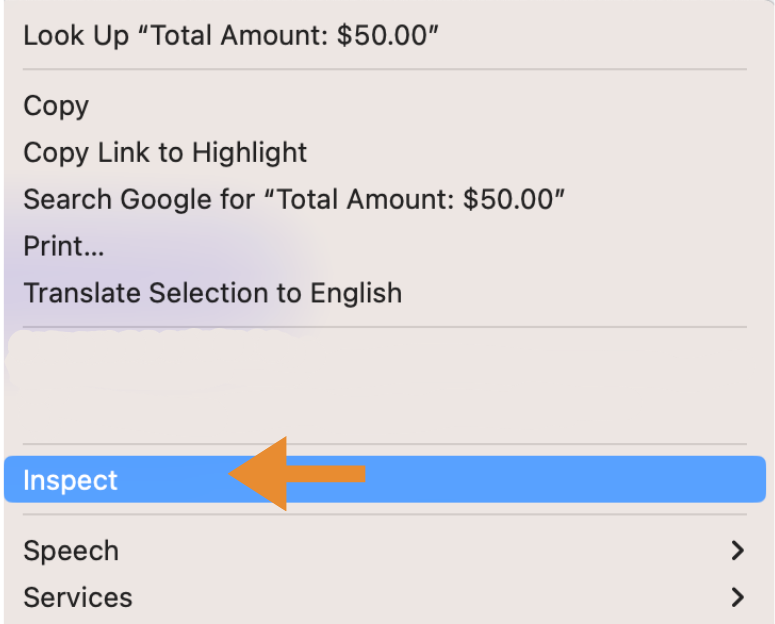
Use Chrome DevTools (“Inspect”) to identify the appropriate IDs or name selectors for:
- Cart total (
#total-amount) - Credit card number (
#cc-number) - CVV (
#cc-csc) - Expiration month (
#exp-month) - Expiration year (
#exp-year)
Combined Expiration FieldsIf your expiration fields are combined, use the same selector for both
data-cc-exp-month-taganddata-cc-exp-year-tag.
Card Expiration Example
- On your website's checkout page, locate the area that displays the credit card’s expiration year.

- Right-click on the expiration month area and select Inspect to display the Inspect Element panel.
- In the Elements tab, find the highlighted expiration year element and the element's name. For example, in the screenshot below, the expiration year element has an id name of
exp-year.
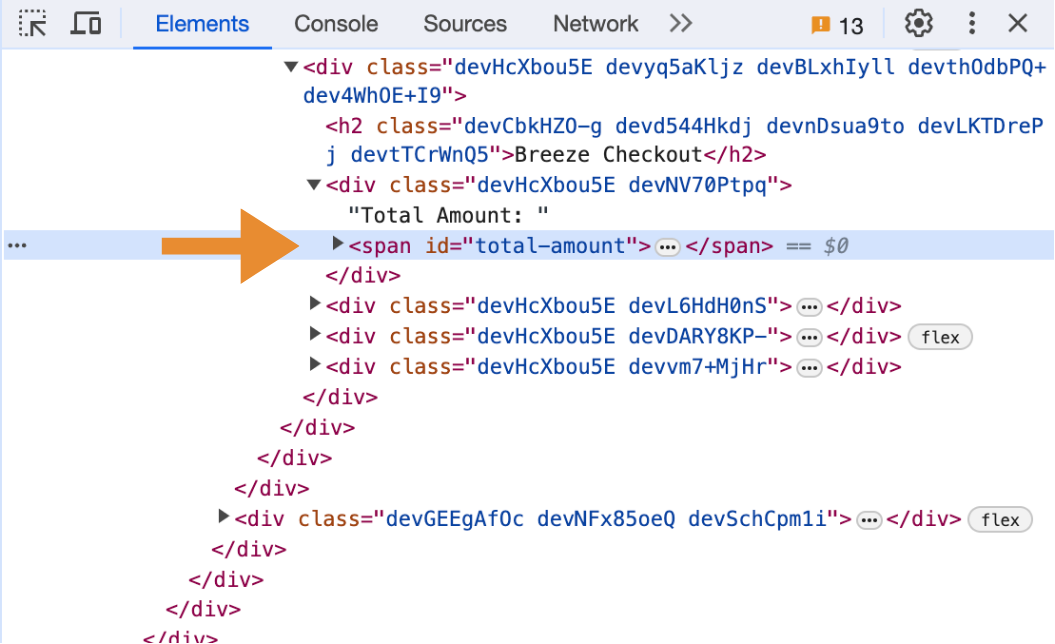
- Add the element name, such as
exp-year, in the Affirm Lite code for thedata-cc-exp-year-tagattribute.
data-cc-csc-tag="#cc-csc"
HTML Query Selector ChangesIf any changes are made to your web page, ensure that the query selectors for the Affirm Lite attributes are correct and update them if necessary.
5. (Optional) Button Customizations
For the Affirm Lite button, there are two options for the pre-styled Affirm checkout button:
- Default option:
affirm-checkout-btndisplays the button with a blue background and white text.
- Light option:
affirm-checkout-btn btn-lightdisplays the button with a white background, blue border, and black text.
What's next?
Updated 6 months ago