Set Up Google Tag Manager
Learn how to set up Google Tag Manager for your site to manage tracking, advertising, and other marketing functions on your site.
Prerequisites
- Create a Google Tag Manager account.
Steps
1. Upload the Custom Template
-
Download the template.tpl file from Github.
-
Open Google Tag Manager.
-
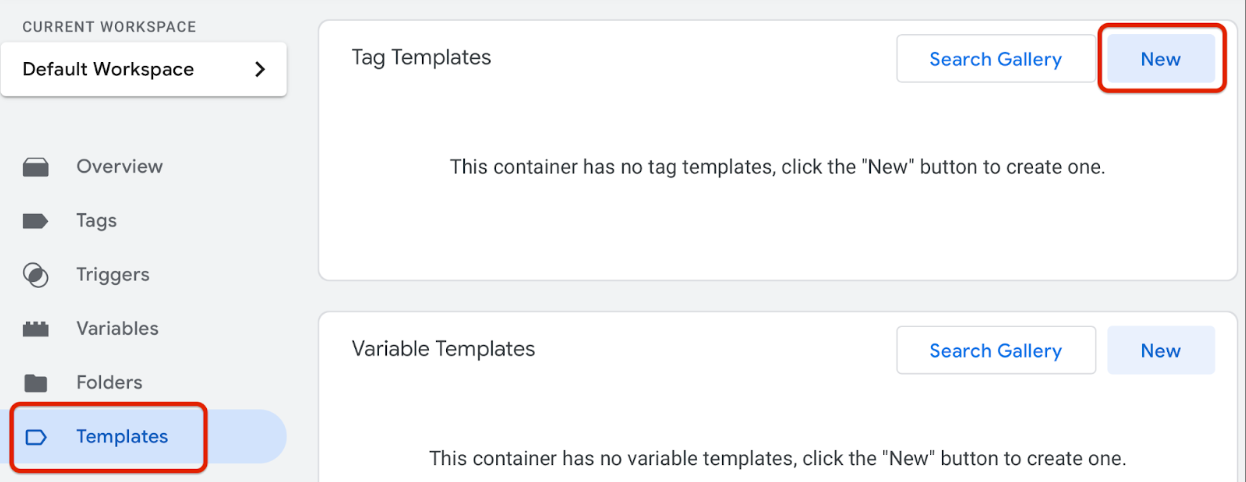
Click on the Templates tab.
-
In the Tag Templates section, click New.
-
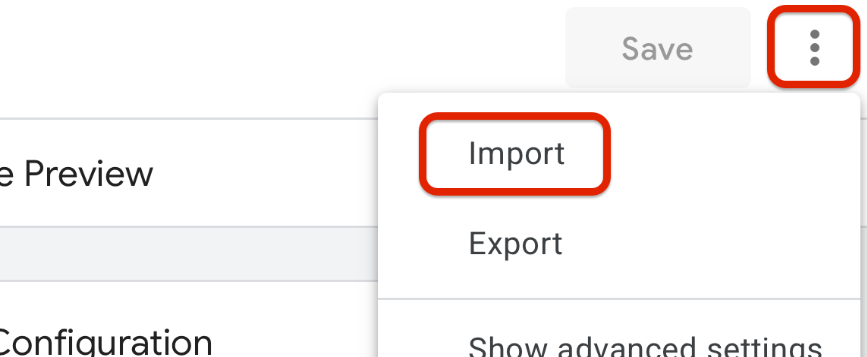
Click the three-dots icon to expand the menu.
-
Click Import.
-
Select the template.tpl file that you downloaded from Github in Step 1.
-
Click Save.
2. Add a Tag
-
Open Google Tag Manager for your Workspace.
-
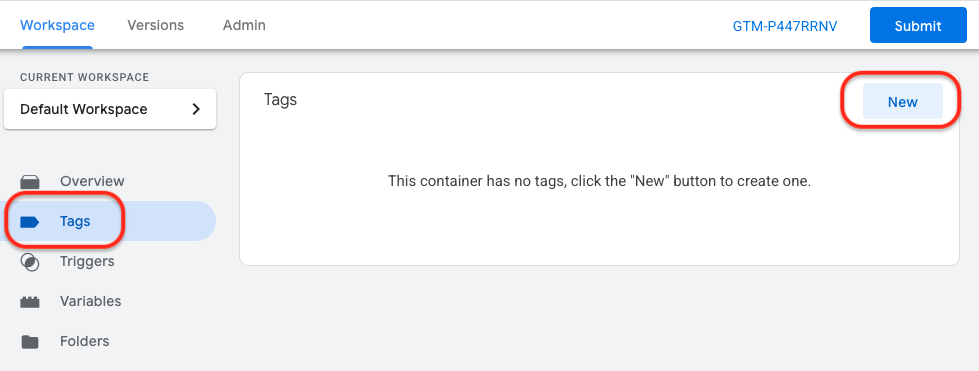
Click on the Tags tab.
-
Click New.
-
Click on the Tag Configuration section.
-
In the Custom section, click Affirm.
-
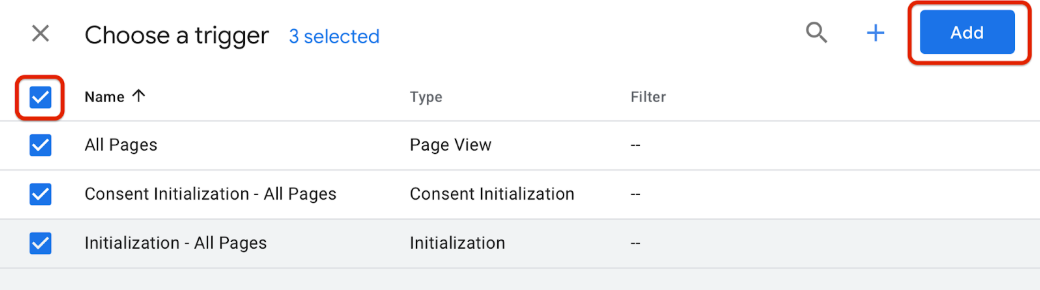
Click on the Triggering section.
-
Select All Pages.
-
Click Add.
-
Click Save to save the tag configuration.
3. Configure the API Key
-
In the Tags section, click to open the tag.
-
Click on the Tag Configuration section.
-
In the Affirm Configuration sub-section, add your public API key in the Affirm Public API Key field.
-
Select the type of API key you’re using:
- Sandbox for testing.
- Production to create actual loans.
4. Configure Promotional Messaging
You can add as-low-as messaging and logos to your site with minimal effort:
- Promotional Message: This targets one element on a page.
- List of Promotional Messages: This is for when there are similar elements on one page that you want to target. There must be the same number of instances of classes in the Target Element field that there are in the Price Element field.
- Logo: This displays a logo anywhere on your site.
Add a Promotional Message
- Click the Promotional Messaging sub-section.
- Click Add Row in the Promotional Message row.
- In the Target Element field, select the HTML class or ID to identify where to display the promotional message.
- In the Price Element field, select the HTML class or ID of the element that includes the price.
- Select a Page Type to indicate where the promotional messaging should display.
- In the Affirm Type field, you can select either:
- Logo: Displays the Affirm logo in promotional messaging. You can also choose a logo color.
- Text: Displays “Affirm” as text in promotional messaging.
- Select a Position in Target option to indicate the position of promotional messaging relative to the Target Element.
Add a List of Promotional Messages
- In the Promotional Messaging sub-section, click Add Row in the List of promotional messages row.
- In the Target Element field, select the HTML class to identify where to display the promotional messaging.
- In the Price Element field, select the HTML class of the element that includes the price.
- Select a Page Type to indicate where the promotional messaging should display.
- In the Affirm Type field, you can select either:
- Logo: Displays the Affirm logo in promotional messaging. You can also choose a logo color.
- Text: Displays “Affirm” as text in promotional messaging.
- Select a Position in Target option to indicate the position of promotional messaging relative to the Target Element.
Add a Logo
- In the Promotional Messaging sub-section, click Add Row in the Logo row.
- In the Target Element field, select the HTML class to identify where to display the logo.
- In the Logo Width field, enter the width that you’d like the logo to display as, in pixels. Don’t append “px” to the number (e.g., For 200 pixels wide, enter “200” in the field).
- In the Color field, select the logo color.
- Select a Position in Target option to indicate the position of promotional messaging relative to the Target Element.
5. Configure the Credit Card Form Fields
When the customer completes their Affirm checkout, we return them to your checkout page. At that time, a success callback function is triggered and the generated debit card details are included in the success callback event data.
To configure this checkout flow, you must:
- Store the virtual card details returned from Affirm.
- Populate hidden credit card form fields so they can be leveraged by the standard 'submit' action , or
- Immediately make the API call to tokenize the card, in anticipation of authorization in a subsequent step.
- Submit the in-progress checkout form on your site (either user-initiated or automatic).
- Customer must click the 'place/finalize/complete order' button to complete the order, or
- Automatically submit the checkout form after the Affirm checkout has been confirmed.
- Put a pending authorization hold on the funds on the virtual card.
- Use your checkout form's existing functionality to submit the debit card details to your card gateway for authorization.
- Directly submit the debit card details to your card gateway for authorization at runtime, instead of using the existing card-submit-for-authorization mechanism.
6. Configure Checkout
- In the Merchant Name field, enter the name of the merchant.
- In the following sections, enter HTML class or ID where the associated values are on the checkout page:
- Items. Note: The Item Container must be an element that surrounds the following fields.
- Billing.
- Shipping.
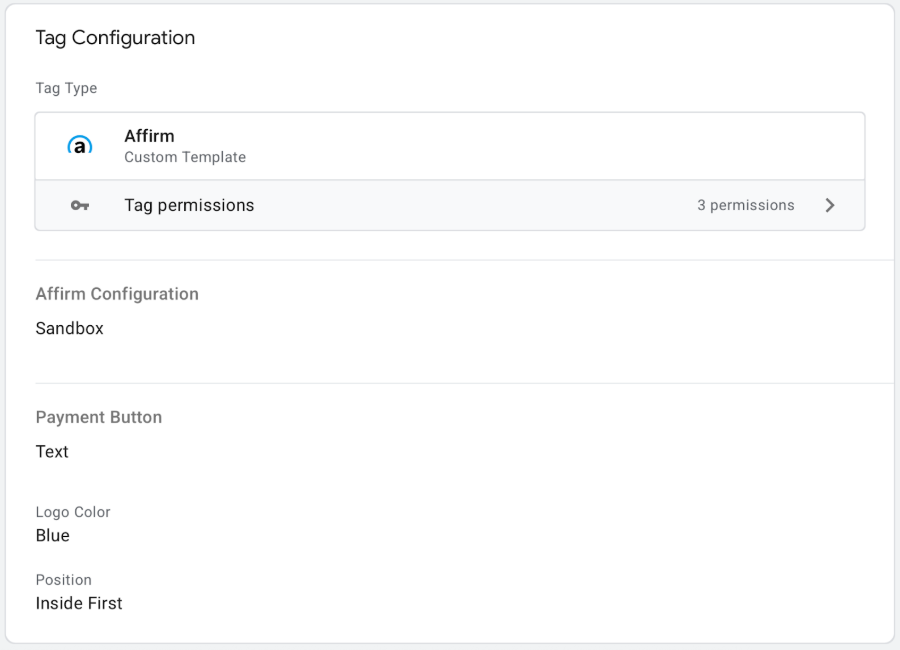
- In the Payment Button section, you can configure a button for the payment types section of your checkout:
- In the Target Element field, choose the HTML class to identify where the button should show.
- In the Payment Description field, you can customize the message. We suggest using Monthly Payments.
- In the next field, you can choose whether Affirm appears as a logo or text in the button.
- In the Logo Width field, enter the width that you’d like the logo to display as, in pixels. Don’t append “px” to the number (e.g., For 200 pixels wide, enter “200”).
- In the Color field, select a logo color.
- Select a Position option to indicate the position of promotional messaging relative to the Target Element.
- In the Card Output section, enter the HTML class or ID with the corresponding hidden credit card form fields.
- In the following fields, select the HTML class or ID where the amount is located:
- Shipping Amount
- Tax Amount
- Total Amount
- In the Submit Element field, choose the HTML class or ID of the button to submit an order.
7. Integrate
-
Click the name of the container you’re currently editing, such as:
-

In the modal window, copy the embed code snippets for heading and body, and paste them into your page’s heading and body.

- For more information, you can refer to Google's quickstart guide.
- Test the integration by providing your Affirm contact with a test card number that can be successfully authorized. See an example on Github.
Updated 8 months ago