Prequalification
Boost customer confidence and increase spending with Affirm Prequalification. Display pre-qualified amounts early in the shopping process, allowing customers to see their spending power before checkout. Easily integrate prequalification messaging across product, category, and payment pages.
Overview
Prequalification allows your customers to shop confidently by displaying their pre-qualified spending amount early in their shopping process. As a result, shoppers who used Prequalification spent an average of up to 30% more per transaction --- on top of the existing Affirm AOV lift.
How Prequalification Works
With Prequalification, you can add pre-qualified text or a button wherever your site mentions Affirm. This is typically on the product, category, payment, or home pages.
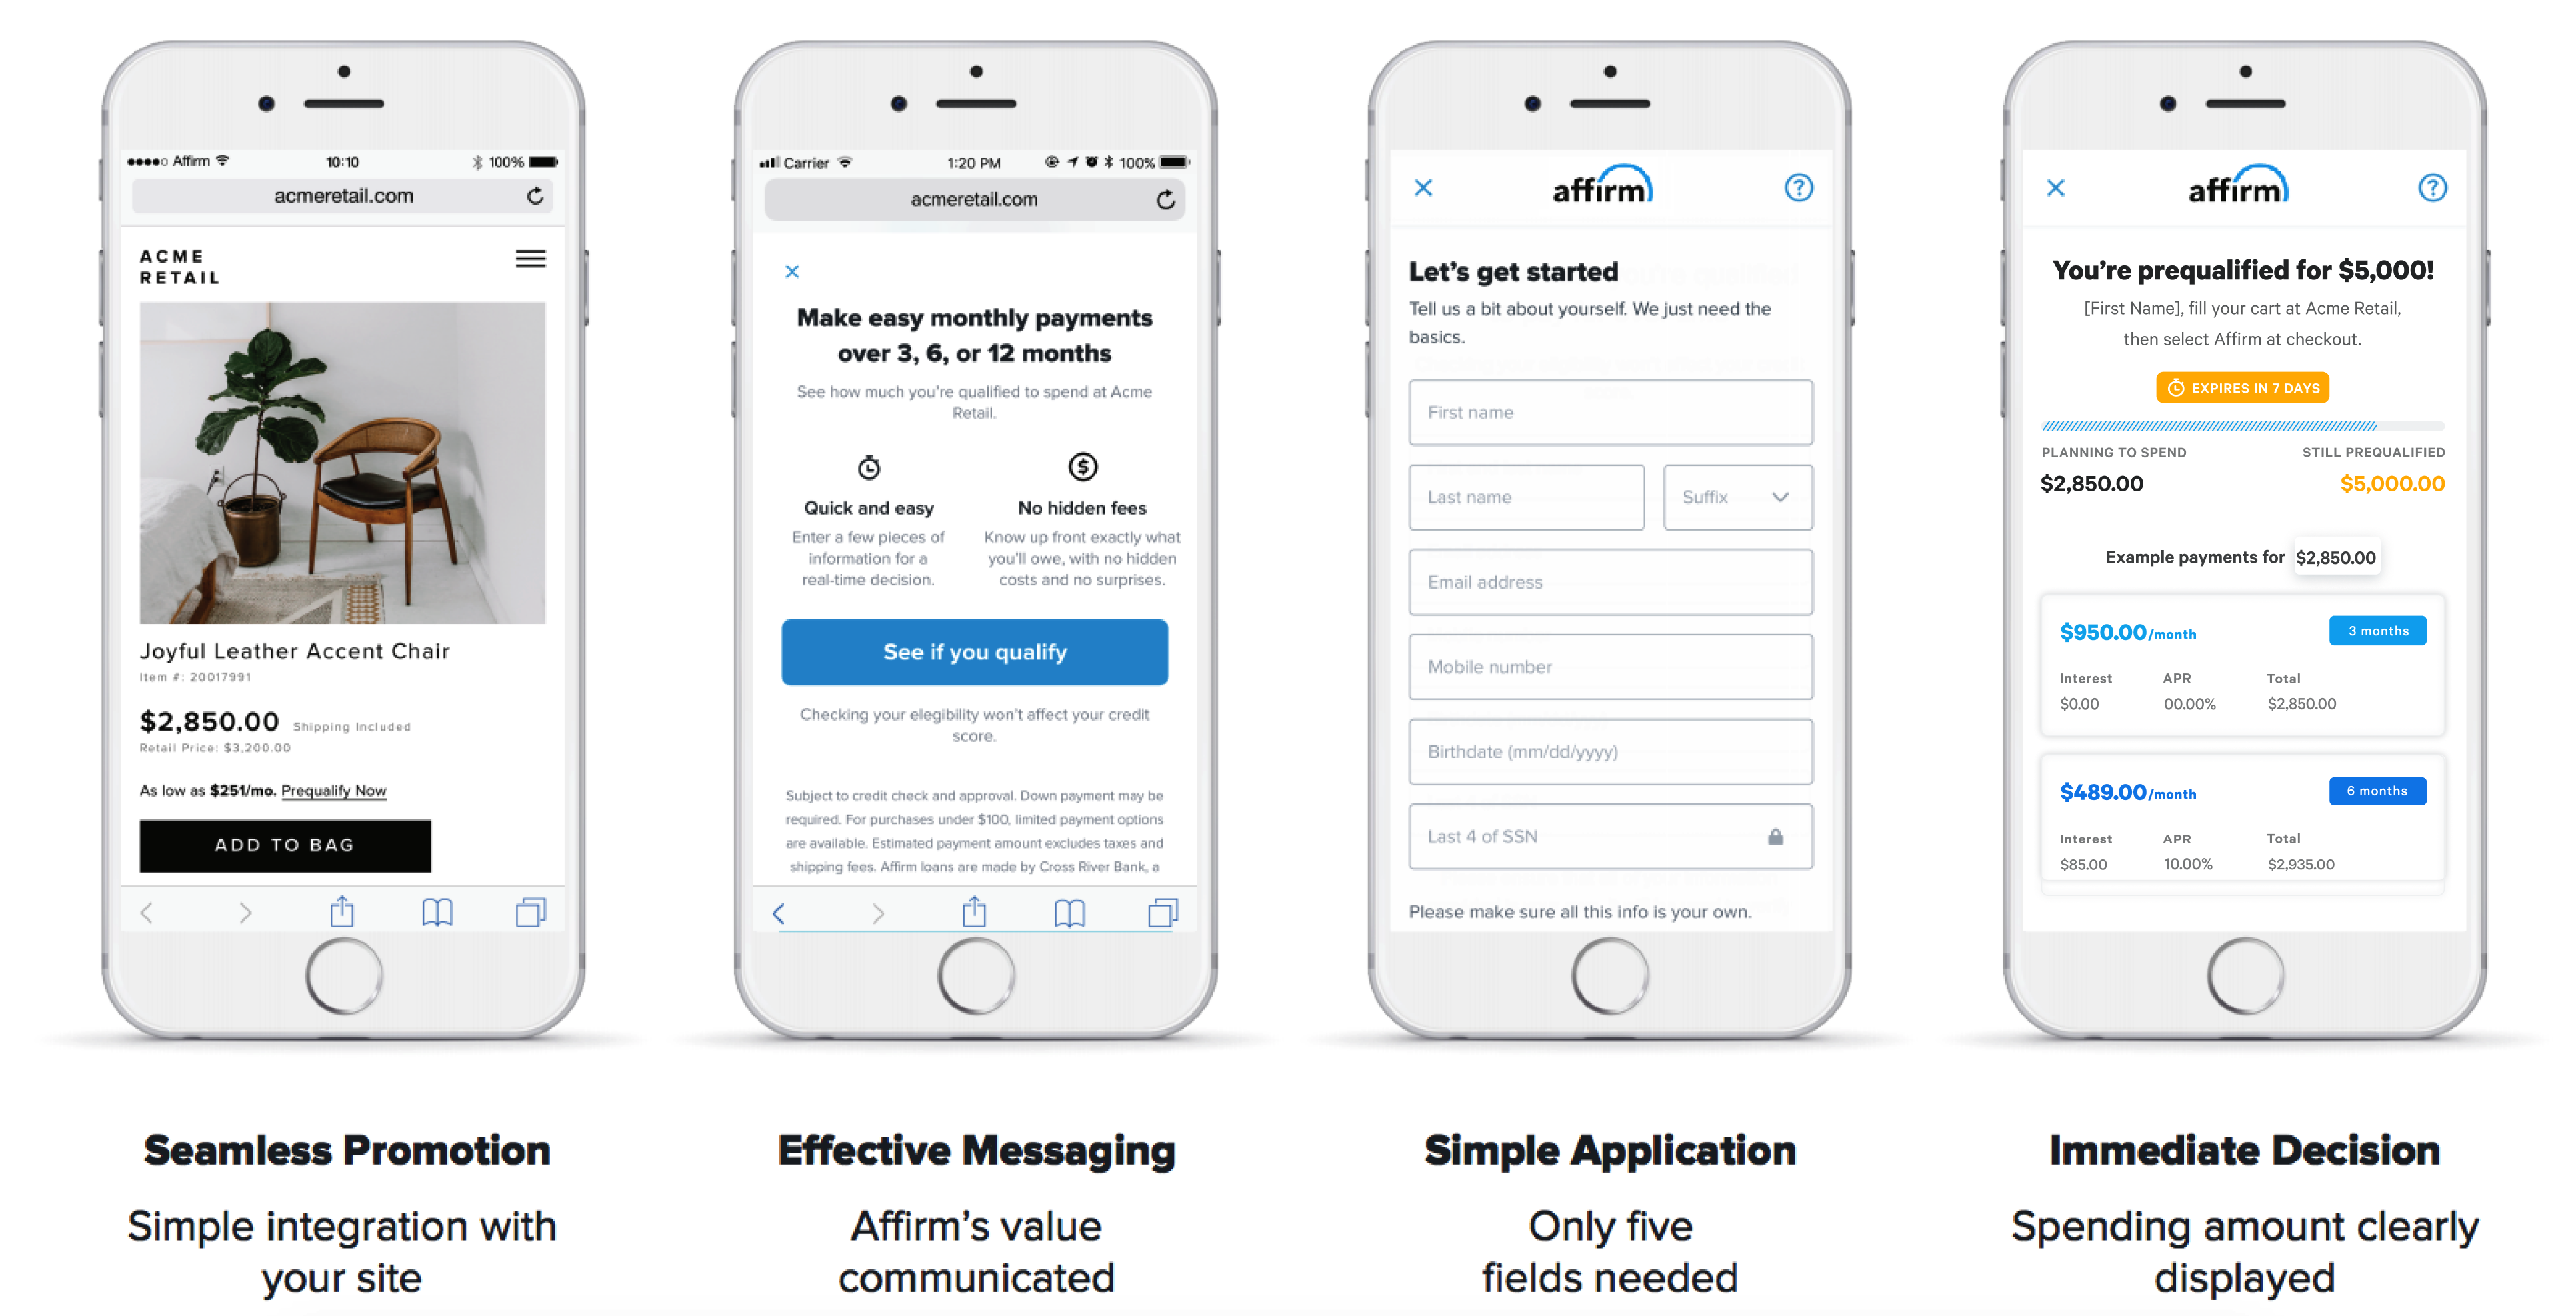
When customers click on the pre-qualified button or text, they can complete a quick application through an educational modal to determine their qualified spending amount. After completing the application and their shopping journey, the customer will see their pre-qualified amount automatically applied at checkout when selecting Affirm as their payment option.

Add Prequalification to Your Website
The current version of Affirm promotional messaging has prequalification enabled by default on all messaging and educational modals on product pages. You can work with your Client Success Manager to change this or include it on additional pages. If you want to add Prequalification but can't upgrade your Affirm promotional messaging yet, please contact your Client Success Manager. For marketing best practices and compliance guides, see the Business Hub.
Prequalification Customer Flow
1. The customer clicks the Prequalification messaging.
2. The customer sees an educational modal with additional information.
3. The customer clicks See if you qualify.
4. The customer signs in or creates a new Affirm account.
5. The customer verifies their income if it is their first time at this merchant.
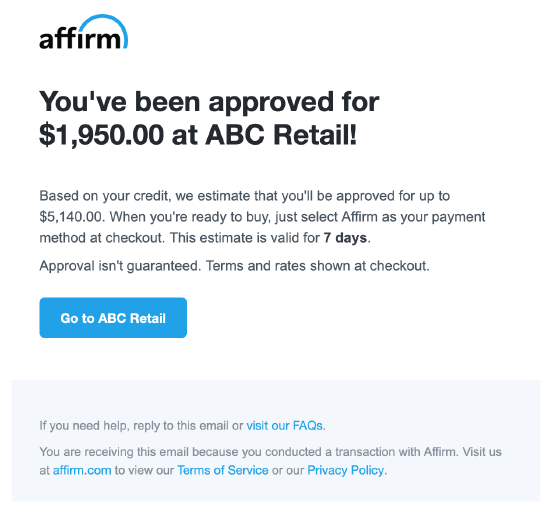
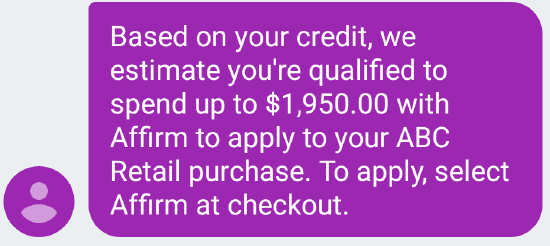
6. The customer sees amount they are prequalified for and receives an email and SMS.
Email

SMS

After completing the application and entering the checkout page, the pre-qualified amount is automatically applied when the customer selects Affirm as their payment option. The prequalification amount only applies to the customer's next checkout attempt at your store. If a customer cancels the transaction, they will need to get prequalified again.
Updated about 1 month ago
 USA
USA
 Canada