À propos d’Affirm Lite
Découvrez Affirm Lite et comment il offre une expérience de paiement simplifiée via une fenêtre contextuelle qui aide à augmenter les conversions. Cette solution légère garde les clients sur votre site et prend en charge des fonctionnalités comme le remplissage automatique, le repli, et les boutons pré-stylisés optionnels.
Disponibilité des pays
 USA
USA
Affirm Lite 1.0 → Mise à jour d'Affirm Landing PageSi vous recherchez l'original « Affirm Lite », le produit a été renommé « Affirm Landing Page ». Ce produit continuera à fonctionner exactement comme avant et aucune modification n'est nécessaire pour les intégrations existantes. Consultez la documentation de la page de destination Affirm.
Aperçu
Affirm Lite est une solution d’intégration simplifiée qui vous permet de proposer l’option de paiement échelonné d’Affirm via une fenêtre contextuelle directement sur votre page de caisse. En intégrant un extrait de code léger et en configurant des attributs HTML de base, vous pouvez permettre aux clients de finaliser leurs achats sans quitter le site, ce qui augmente les conversions et réduit l'abandon du panier. Affirm Lite offre également des options de secours pour garantir la finalisation des transactions et prend en charge les boutons de paiement personnalisés et pré-stylés.
L'expérience client
Les clients qui choisissent Affirm à la caisse profitent d'une interface contextuelle fluide directement sur la page de votre magasin. Une fois qu'ils ont terminé le processus Affirm, nous générons une carte virtuelle avec le montant approuvé de leur prêt. Les détails de la carte virtuelle peuvent être automatiquement remplis dans les champs de paiement du site ou copiés et collés manuellement par le client, selon la configuration du site et les paramètres de sécurité du navigateur (p. ex., les iframes ne sont pas pris en charge pour le remplissage automatique).
Si le remplissage automatique n'est pas possible, le client est redirigé vers la page de destination Affirm comme solution de secours, où il peut terminer son achat et saisir manuellement les détails de sa carte virtuelle dans les champs de paiement de votre site.
L’Expérience du Commerçant
Les commerçants n'ont besoin que de quelques étapes rapides pour intégrer Affirm Lite :
- Intégrez Affirm.js sur votre site.
- Ajoutez le bouton de caisse Affirm.
- Enable autofill.
- Traitez la carte virtuelle : lorsque vos clients passent à la caisse, vous pouvez traiter leurs transactions à l'aide de votre intégration de passerelle de paiement existante.
Affirm Lite prend également en charge une redirection de secours vers la page de destination Affirm si le remplissage automatique échoue et propose des options de boutons pré-stylées pour un déploiement plus rapide.
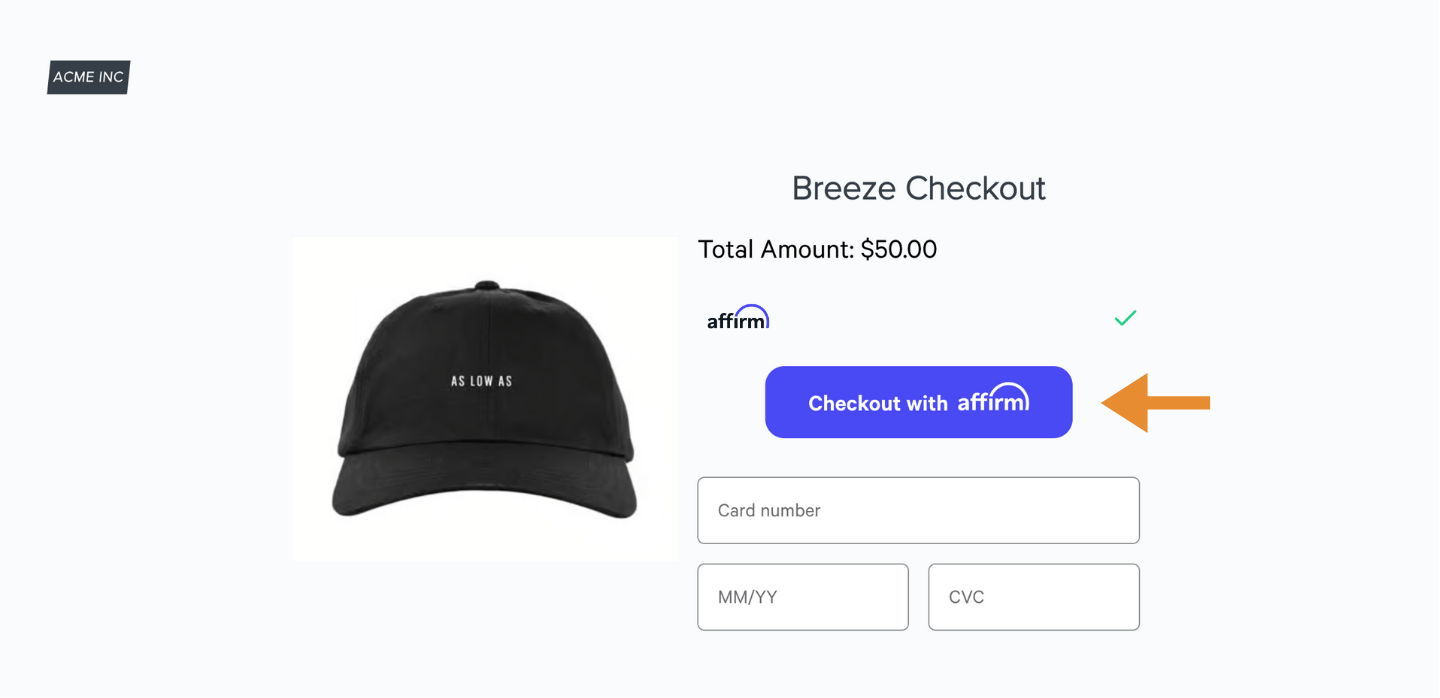
Bouton pré-stylé Affirm Lite
Sujets recommandés
Mis à jour 3 months ago