Upgrade Affirm promotional messaging in Shopify
This guide walks you through the following:
1. Overview
2. Add Affrim.js
3. Find your theme files
4. Delete Affirm.js from each template file
5. Update promotional messaging components
6. HTML attributes
7. Examples
8. Add code to handle price changes
9. Add the confirmation page function
10. Troubleshooting
Shopify overview
You can navigate back to the Shopify documentation here.
Overview
Upgrading your Affirm integration allows you to take advantage of our upcoming and future releases as soon as they're available with little or no development work. Our upgraded promotional messaging includes:
- New promotional messaging components that respond dynamically to your unique financing programs such as longer terms (18, 24 and 36-month repayment terms) and 0% APR promotions, with customizable messaging to personalize the consumer journey
- Our Prequalification flow within promotional messaging components to unlock purchasing power upfunnel while minimizing additional development work for your teams
- Our updated Affirm.js library, which includes Enhanced Analytics that provide consumer insights and enable A/B testing to keep your site optimized
Follow the steps below to upgrade your promotional messaging:
1. Add Affrim.js
2. Find your theme files
3. Delete Affirm.js from each template file
4. Update promotional messaging components
5. Add code to handle price changes
6. Add the confirmation page function
1. Add Affirm.js
Add the Affirm.js embed code at the top of the theme file in your Shopify store.
1. Create a file on your computer called Affirm_runtime_embed.js with the Affirm.js embed code below (Replace public_api_key with your public API key found in the merchant dashboard.):
<!-- Affirm -->
<script>
_affirm_config = {
   public_api_key:  "YOUR_PUBLIC_KEY",
   script:          "https://cdn1.affirm.com/js/v2/affirm.js"
};
(function(l,g,m,e,a,f,b){var d,c=l[m]||{},h=document.createElement(f),n=document.getElementsByTagName(f)[0],k=function(a,b,c){return function(){a[b]._.push([c,arguments])}};c[e]=k(c,e,"set");d=c[e];c[a]={};c[a]._=[];d._=[];c[a][b]=k(c,a,b);a=0;for(b="set add save post open empty reset on off trigger ready setProduct".split(" ");a<b.length;a++)d[b[a]]=k(c,e,b[a]);a=0;for(b=["get","token","url","items"];a<b.length;a++)d[b[a]]=function(){};h.async=!0;h.src=g[f];n.parentNode.insertBefore(h,n);delete g[f];d(g);l[m]=c})(window,_affirm_config,"affirm","checkout","ui","script","ready");
// Use your live public API Key and https://cdn1.affirm.com/js/v2/affirm.js script to point to Affirm production environment.
</script>
<!-- End Affirm -->
1. Sign in to your Shopify admin page at yourstore.myshopify.com/admin/.
2. From the navigation menu on the left, go to Online Store > Themes.
3. On the menu to the right of the theme, click Actions.
4. Click Edit Code.
5. Search for the theme.liquid file and add the above Affirm.js embed code to it before the closing the </head> tag.
6. In the embed code, replace public_api_key with your public API key found in the merchant dashboard.
7. Click Save.
2. Find your Shopify theme files
To add the HTML for Affirm promotional messaging, you'll need to edit your store's theme files. To find them:
1. Back on your main page page, go to Online Store > Themes.
2. On the menu to the right of the theme, click Actions.
3. Click Edit Code.
4. Find the file navigation menu on the left side and find the following template files:
collection.liquidproduct.liquidcart.liquidcheckout.scss.liquid(Shopify Pro only)index.liquidarticle.liquidsearch.liquid
3. Delete Affirm.js from each template file
Delete all references to Affirm.js from each template file listed above (it may not be included on every template file).
4. Update promotional messaging components
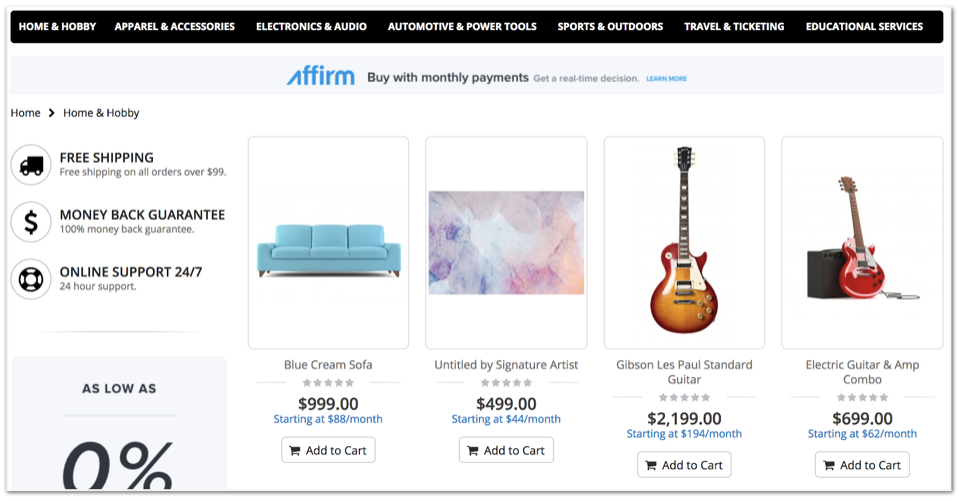
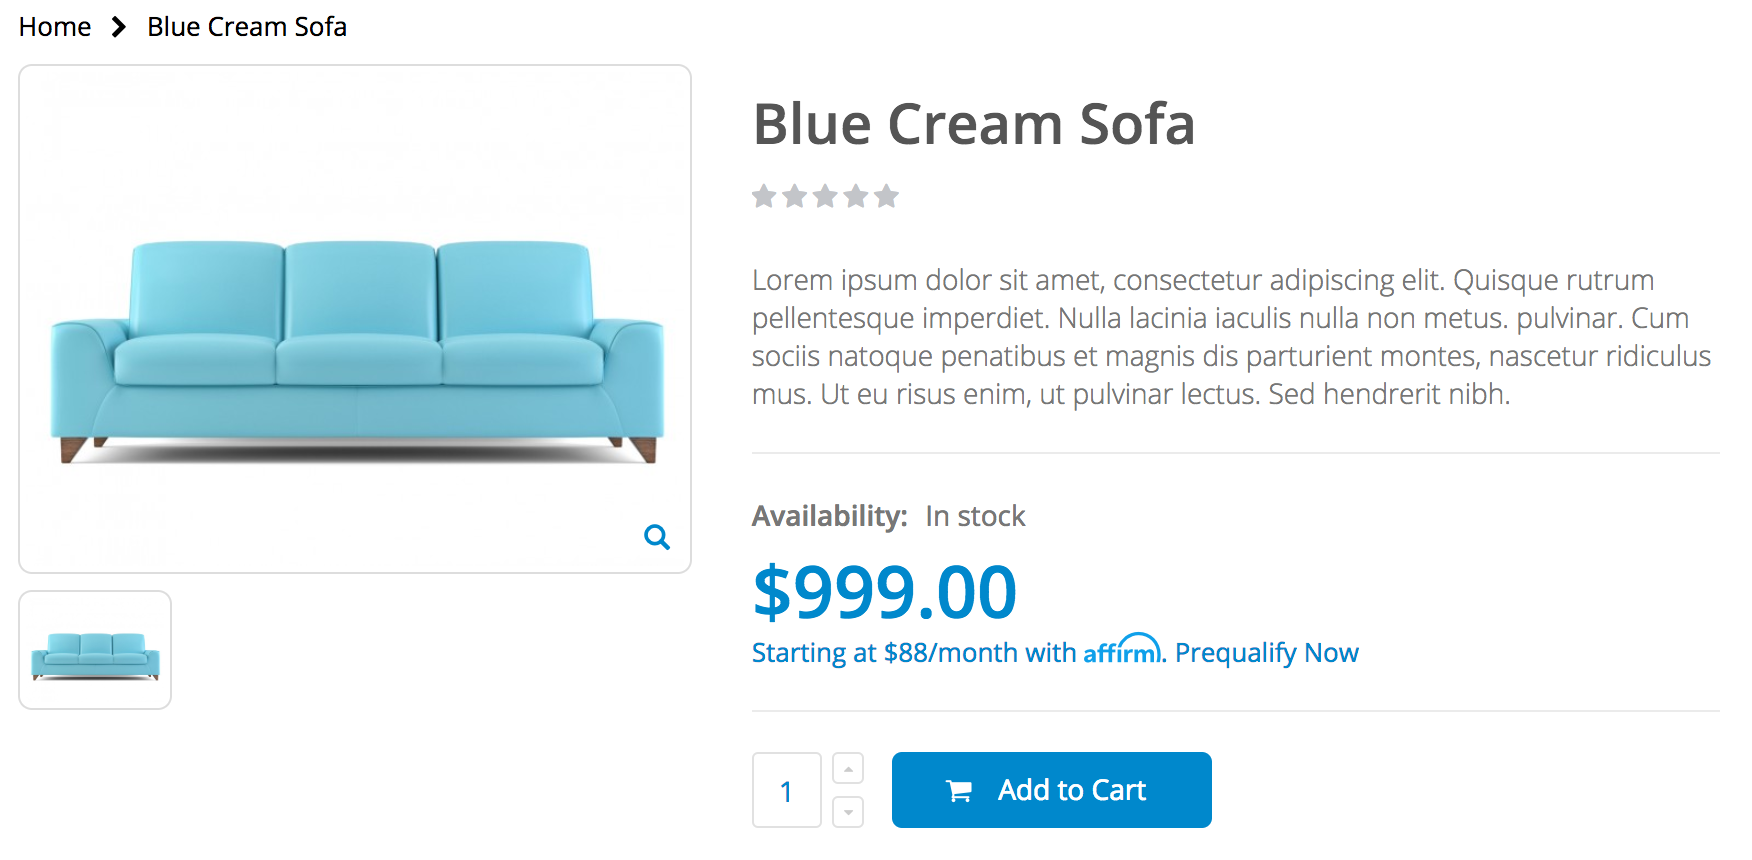
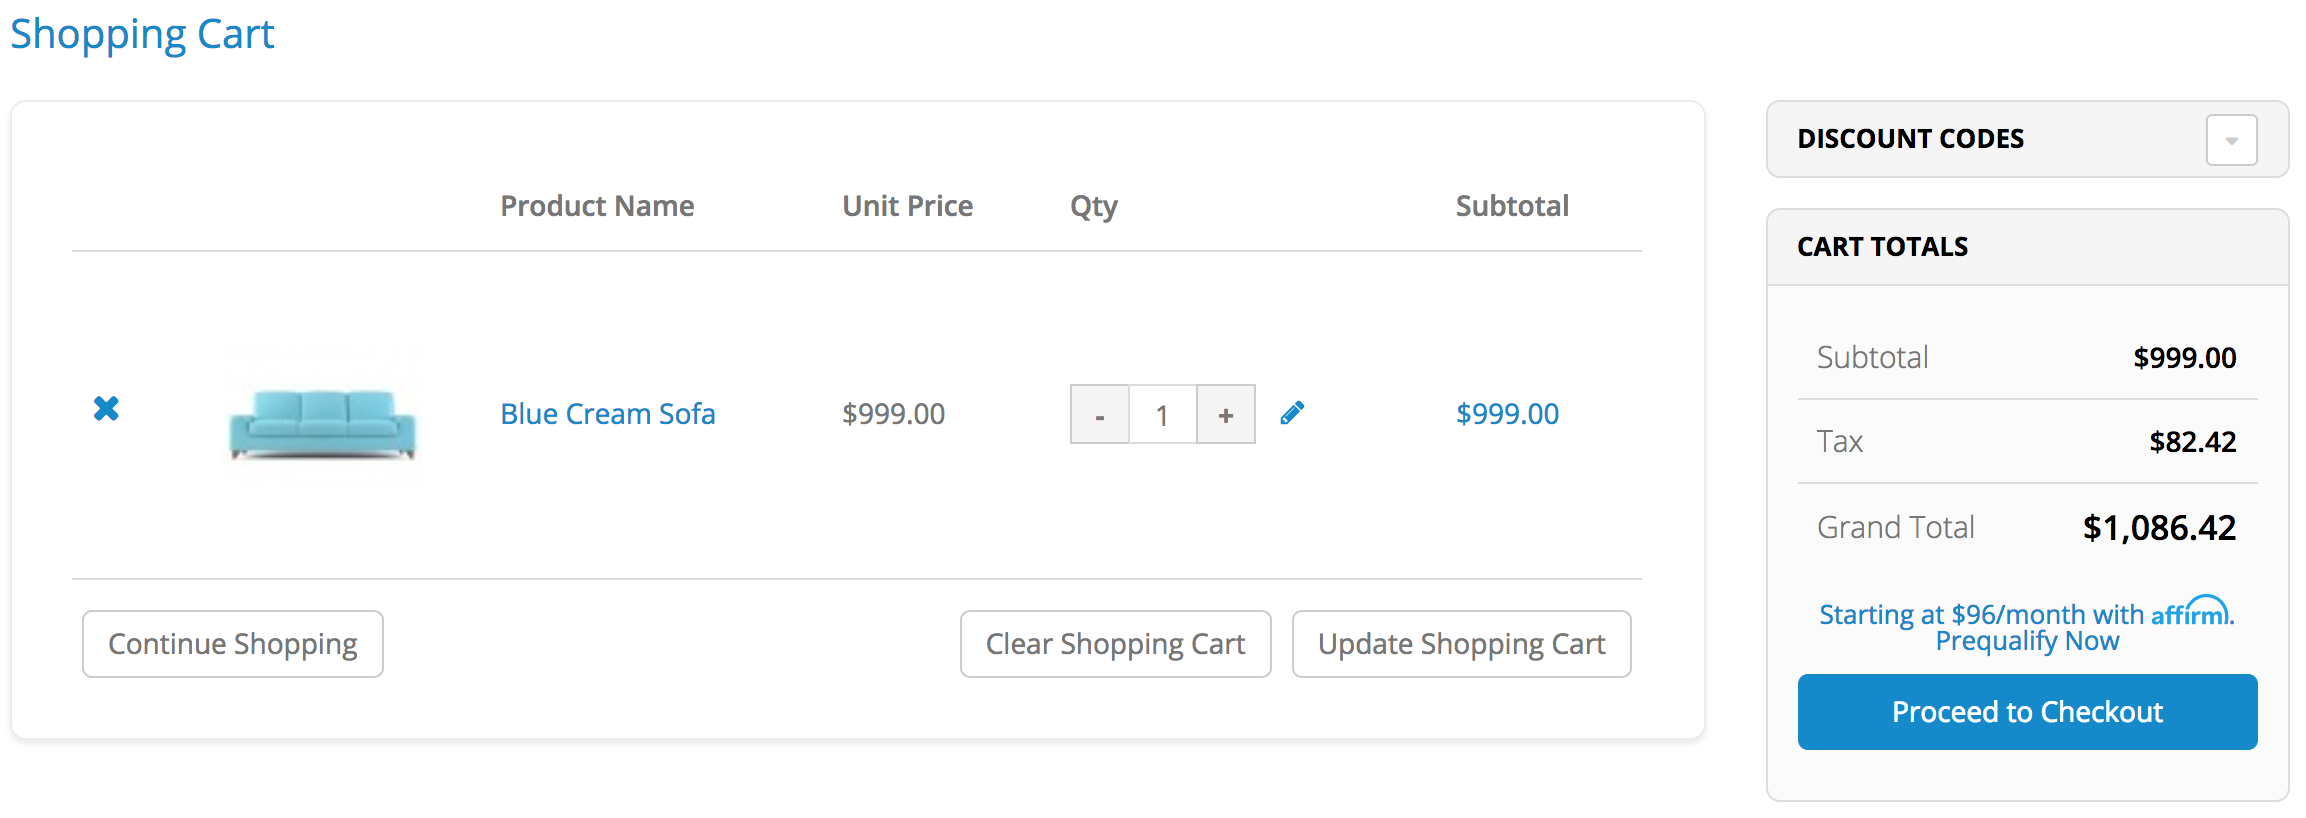
Add an HTML element everywhere you want to display an Affirm promotional messaging component. The element attributes (see below) determine which component displays. We generally recommend adding promotional messaging to your category, product, cart, and payment pages.
In each HTML element, include the new data-page-type attribute corresponding to the page where that promotional messaging component is placed. The data-page-type attribute allows you to customize messaging in the future without development work. By default, promotional messaging on product pages have prequalification enabled, but you can work with your Client Success Manager to change this and configure additional customizations.
You should also contact your Client Success Manager to discuss a plan to move all your Promo IDs to Page Types and eventually remove data-promo-id (or data-modal-id) from your HTML components.
HTML attributes
Classes
These classes determine the Affirm promotional messaging component to display.
| Value | Description |
|---|---|
| affirm-as-low-as string | Monthly payment messaging links to a product modal that offers additional price-specific information and prequalification. |
| affirm-site-modal string | A site modal provides general information about Affirm and does not include pricing information. Any HTML element can trigger a site modal. |
Types
data-amount
integer
This is the loan amount passed to the monthly payment messaging component and is required if you want to display price specific messaging
data-page-type
string
This identifies your promotional messaging so Affirm can apply the necessary customizations based on the page they’re displayed.
| Value | Shopify template file | Description |
|---|---|---|
| category | collection.liquid | A product category page |
| product | product.liquid | A product category page. |
| cart | cart.liquid | The customer cart page |
| payment | checkout.scss.liquid | The payment selection page (Shopify Pro only) |
| homepage | index.liquid | Your site's home page |
| landing | article.lquid | A landing page that describes Affirm |
| search | search.liquid | Your site's search results page |
| banner | N/A | A banner image (use for any promotional messaging triggered by your banner or image regardless of page location) |
Monthly payment messaging (affirm-as-low-as) usually display price-specific information (requires data-amount) and are typically used with the following data-page-types:
- category
- product
- cart
- payment
Since site modals (affirm-site-modal) do not display price-specific information, they are typically used with the following data-page-types:
- homepage
- banner
- landing
- search
If you don't pass data-page-type, the component will use a default setting.
Examples
<p class="affirm-as-low-as" data-page-type="category" data-amount="99900"></p>

<p class="affirm-as-low-as" data-page-type="product" data-amount="99900"></p>

<p class="affirm-as-low-as" data-page-type="cart" data-amount="99900"></p>

5. Add code to handle price changes
The Shopify product page (product.liquid) uses JavaScript to update the product price as the customer changes product options and variants. You can add the following code to the existing selectCallback function so to always update the monthly payment messaging:
<script>
  var selectCallback = function(variant, selector) {

    //Affirm Promos: Monthly Payment Messaging, dynamic pricing embed code
    //
    //NOTE: This Affirm embed code is only needed if you are using product variants.
    //'selectCallback' might not be in your product.liquid template if product variants are not used or supported.
    //If you are using product variants in your shop, use the following code to dynamically update your Monthly Payment Messaging when the customer selects a different product variant.

    $('.affirm-as-low-as').attr('data-amount',variant.price);
    affirm.ui.refresh();

  };

</script>
The Shopify mini-cart and cart page (cart.liquid) use AJAX to keep pricing up to date. Therefore, there is no need to hook into the selectCallback JavaScript function.
6. Add the Confirmation Page function
When a customer completes their purchase, you can send their order and product information to Affirm for A/B testing, which will help you optimize your site. Send this information by adding the Confirmation Page function to your payment confirmation page. We only require orderId, total, productId, and quantity for A/B testing.
Click here for all the Confirmation Page function parameters.
To add the confirmation page function, go to Settings > Checkout > Order Processing > Additional scripts and add the code below. Replace public_api_key with your public API key found in the merchant dashboard.
<script>
_affirm_config = {
   public_api_key:  "YOUR_PUBLIC_KEY",
   script:          "https://cdn1.affirm.com/js/v2/affirm.js"
};
(function(l,g,m,e,a,f,b){var d,c=l[m]||{},h=document.createElement(f),n=document.getElementsByTagName(f)[0],k=function(a,b,c){return function(){a[b]._.push([c,arguments])}};c[e]=k(c,e,"set");d=c[e];c[a]={};c[a]._=[];d._=[];c[a][b]=k(c,a,b);a=0;for(b="set add save post open empty reset on off trigger ready setProduct".split(" ");a<b.length;a++)d[b[a]]=k(c,e,b[a]);a=0;for(b=["get","token","url","items"];a<b.length;a++)d[b[a]]=function(){};h.async=!0;h.src=g[f];n.parentNode.insertBefore(h,n);delete g[f];d(g);l[m]=c})(window,_affirm_config,"affirm","checkout","ui","script","ready");

affirm.ui.ready(function(){
affirm.analytics.trackOrderConfirmed({
    "orderId": "{{ order.id }}",
    "total": "{{ order.total_price }}"
}, [{
   {% for item in order.line_items %}
   "productId": "{{ item.sku }}",
   "quantity": "{{ item.quantity }}",
   {% endfor %}
}]);
});
</script>
Required function parameters
Order object
| Attributes | Description |
|---|---|
paymentMethodstring | The payment method chosen by the customer (e.g., Visa). Maximum 150 characters. |
orderIdstring | Your internal unique identifier representing the order. Maximum 500 characters. |
totalinteger | The total amount of the transaction, including tax and shipping, stated in USD cents (e.g., $100 = 10000). |
Product object
| Attributes | Description |
|---|---|
productIdstring | Your internal unique identifier representing the product, such as the SKU or an internal database identifier. Maximum 500 characters. |
quantityinteger | The quantity of the purchased product. |
Troubleshooting
Price variables
The variable that you use for product prices and cart totals may vary, based on your current Shopify theme and functionality.
Product page
Documentation: https://docs.shopify.com/themes/theme-development/templates/product-liquid
{{item.price}}
{{variant.price}}
Shopping cart
Documentation: https://docs.shopify.com/themes/theme-development/templates/cart-liquid
{{cart.total_price}}